


How to Improve Video Quality on Twitch
"How can you improve the video quality on Twitch? Help, please." - Ryan Mendez
When it comes to streaming on Twitch, quality is everything. If your stream isn’t crisp and clear, nobody is going to want to watch it. Fortunately, there are a lot of different things you can do as a beginner streamer to improve your video quality on Twitch. Here are some simple ways that you can improve the video quality on your Twitch stream without breaking the bank or having to spend hours fiddling with software settings.
 Part 1: Why Are My Twitch videos Low Quality
If you are noticing low video quality on your stream, the first thing you should do is check the settings on your computer. Many of the settings that impact video quality are easy to overlook when you’re setting up your stream, and they’re also easy to adjust. If you’re not seeing any real improvement after changing your settings manually, it may be time to try out some additional software that can boost the visual quality of your stream automatically. The first thing to check is your resolution settings. If the settings are set too low, the stream will look blurry and pixelated. To get the clearest possible stream, you’ll want to set your resolution to something like 1920x1080. If you’re streaming in 1080p and still noticing low quality, your graphics card may not be powerful enough to support it. If your resolution is set correctly, you should also make sure that your bitrate isn’t too low. A low bitrate can result in grainy video and audio, as well as sound dropouts. Most streamers will want to keep their bitrate between 3,000-6,000 Kbps, depending on their computer’s processing power and internet connection speed.
Part 2: How to Improve Twitch Video Quality on Windows PC/Mac via AVCLabs Video Enhancer AI
AVCLabs Video Enhancer AI is an easy-to-use software that can help you boost the visual quality of your Twitch videos especially games videos on Windows PC or Mac. This software is designed to help you increase the video quality of your Twitch by upscaling low-res videos like SD (480p), HD (720p) to 1080p or 4K, even up to 8K automatically and enhancing your visuals using artificial intelligence. If you want to upload your latest gaming clips to Twitch and wanna keep face details hidden from strangers, you can also use the AI Face Blur model of AVCLabs Video Enhancer AI to blur out faces automatically in Twitch videos . It’s very easy to use, and most streamers can get it up and running in just a few clicks.
Driven by AI technologies and powerful algorithms, it helps to remove all video blur such as blurry faces in videos and video noise automatically and intelligently. No advanced video editing skills are required.
Video Enhancer AI
- Enhance the video quality to make them more aesthetically pleasing.
- Deblur your footage by using machine learning.
- Upscale videos from SD to HD, HD to 4K.
- Upscale low-res videos onto a larger screen.
- Trim your footage frame by frame.

Let's follow the tips below to change video quality on Twitch on Mac and Windows PC.
Install and Run AVCLabs Video Enhancer AI
Warm tips: you can click here to check whether your CPU or GPU is capable of fixing a blurry Twitch video with AI.
Firstly download the AVCLabs Video Enhancer AI from the above button and install it on your Windows PC or Mac, then double-click on the icon to launch it.
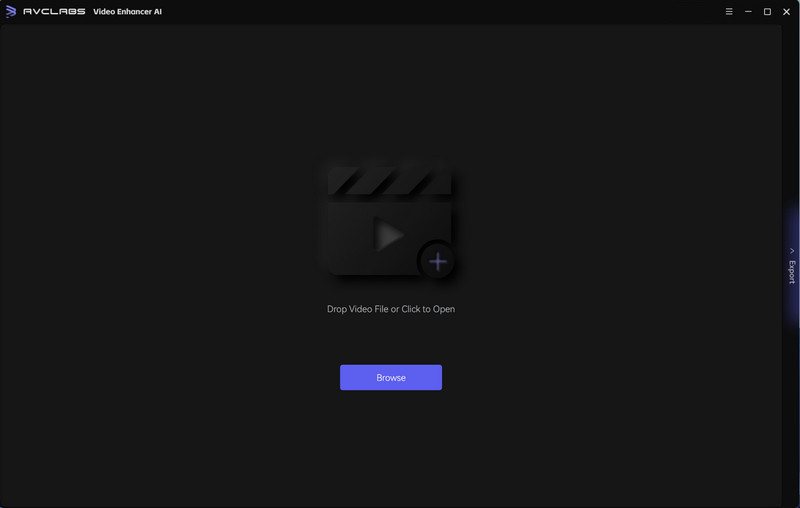
Import the Blurry Video You Want to Improve
Simply click on the Browse button at the bottom of the program interface and upload the video file you need to improve from the computer.
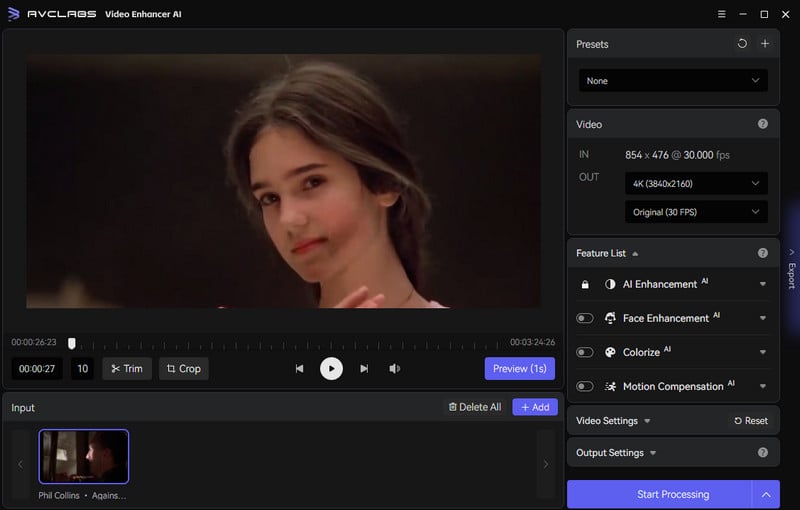
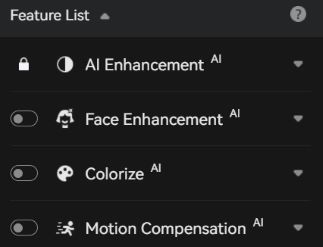
Select the AI Feature
There are four AI features available: AI Enhancement, Face Enhancement, Colorize AI and Motion Compensation. Choose anyone that suits your needs.
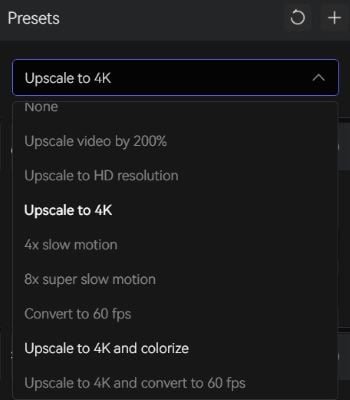
Or just select a pre-configured option from the Preset section to use it directly.
Set the Output Parameters
Before sharpening the blurry Twitch video, you are suggested to modify some critical parameters like output format and output path from the right panel of the program.
You can also go to the Video Settings to adjust the Brightness , Saturation , Contrast.
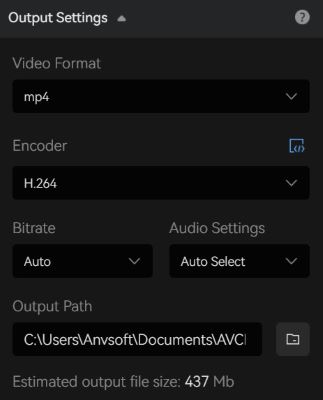
You can also get to the Output Settings to set the output video format to MKV, MP4, AVI, MOV, WEBM), the encoder (H.264, H.265, VP9 Good, VP9 Best, AV1), the bitrate, audio settings, and output path.
Start Making A Blurry Twitch Video Clear Automatically
Once all the preparation work is complete, simply click on the Export button to start improving your blurry Twitch video automatically. The final processing time depends on your computer's system configuration, video size. Please be patient.
After the Twitch video improving process is done, you can click on the "Open Output Video" button to check the output clear and high-resolution Twitch video.

Part 3: How to Change Video Quality on Twitch on Mobile App
In this part, we will talk about how to change video 1uality on Twitch on Android or iOS smartphone.
1. Open the Twitch mobile app on your Android or iOS smartphone.
2. Then Click on the Settings option.
3. Now Choose the Video Quality option.
4. Then change the video stream quality options from low to high ( 1080p) based on your preference. By default, it will be in Auto.
Conclusion:
When it comes to streaming on Twitch, you can’t skimp on quality. You won’t be able to build an audience if your stream doesn’t look good, but luckily, there are a lot of easy ways to boost your video quality without spending thousands on new equipment. First, check your settings and make sure that your resolution and bitrate are set correctly. If you’re still noticing low quality, you might want to try out an easy to use video enhancement software like AVCLabs Video Enhancer AI .
Try AVCLabs Video Enhancer AI to breathe new life into your footage!

Related Articles & Tips
- • How to Improve TikTok Video Quality
- • AI Face Blur | How to Blur Faces in Videos Automatically And Intelligently
- • Top 7 Best Apps to Blur Faces in Videos
- • AI Face Blur | How to Blur Faces in YouTube Videos
- • Top 3 Best AI Video Upscaling Software to Upscale Videos up to 1080p, 4K, 8K
- • How Will AI Enhance Surveillance Video Quality
- • How to Fix Instagram Story Video Blurry Problem
- • Easily AI Upscale Videos from 1080p to 4K
- • How to Restore Old Videos Automatically and Intelligently Like A Pro
- • Restore Old Home Movies to HD
- • How to Fix Bad Quality Videos
 AI Products


Hero Products


Video Converter
- MP4 Converters
- MKV to MP4 Converters
- AVI To MP4 Converters
- MOV to MP4 Converter
- Best Free AV1 Converters
- HEVC/H.265 Converter
- H.264 Video Converter
- Android Video Converter
- Samsung Video Converter
- Sony PS4 Video Converter
- Nokia Video Converter
- MPEG Video Converter
- Convert 4K to 1080P
- Convert MP4 to MP3
- Convert M2TS to MP4
- Convert MVI to MP4
- Convert WebM to MP4
- Convert Videos to MP3
- Convert MP4 to 3GP
- Convert M4V to MP4
DVD Converter
Video Editor
- Best AI Video Editors
- Free AI Video Generators
- Best AI Slideshow Makers
- Replace Face in Video
- AI Cartoon Video Generators
- Text-to-Video AI Generators
- Best Free Voice Changers
- Text-to-Video AI Generators
- Sites to Download Subtitles
- Add Subtitles to Video
- Free Online Video Compressor
- Convert Your Videos to GIFs
- Blur Video Backgrounds
- Video Editing Apps for YouTube
Video Enhancer
- Best 10 Video Enhancer
- Improve Video Quality
- Fix Blurry Videos
- Remove Noise from Footage
- Upscale Video from HD to 4K
- Upscale Video from 480P to 1080P
- Best AI Video Upscaling Tools
- Make a Blurry Video Clear
- Best Old Video Restorer
- How to Sharpen Video
- Fix Bad Quality Videos
- Increase Video Resolution
- Convert Videos to 4K
- Upscale Anime Videos to 4K
Photo Enhancer
- Fix Blurry Pictures Online
- Make Blurrys Picture Clear
- Increase Image Resolution Online
- Remove Blur from Images
- AI Image Sharpener Online
- Topaz Gigapixel AI Alternatives
- Fix Low-resolution Photos
- Colorize Historical Photos
- Remove Noise from Photos
- AI Image Sharpener
- AI Face Retoucher
- AI Image Enlargers
Mobile & PC
