


How to Pixelate Face in A Video with Mosaic or Blur Effects Automatically
"How do I pixelate my face in a video? How do you pixelate someone's face in a video? Which is the best face blur app to blur or pixelate faces in a video?" - Albert
Today, video is the dominant medium for communication. From closed group chats to public broadcasts on social media, people are uploading videos left and right. This means that your image could wind up as a still frame in someone else’s upload at any time. Users have become increasingly cautious about what they share online. They don't want their faces to be recognized or identified by someone, especially when it comes to sensitive information such as their appearance. To avoid this risk, you can pixelate your face in a video with a great video blur app named AVCLabs Video Blur AI.
This blog post will help you understand why it’s smart to blur faces in videos before you share them publicly and how you can do just that with AVCLabs Video Blur AI.
 Part 1: Why You Should Pixelate Your Face in Videos
When you’re sharing videos online, people can see your face. Sometimes, it’s necessary to share certain videos with the public to get your message across. However, this could put you at risk for identification. You could be the victim of a digital attack that leads to identity theft, or someone might try to blackmail you. They could also hack into your accounts to steal information from your contacts, like your spouse or your family. This means that you should pixelate your face in videos before you share them publicly. Doing so will help you protect your privacy and avoid being recognized or identified.
Part 2: How to Pixelate Face in A Video with AVCLabs Video Blur AI
With the help of AVCLabs Video Blur AI, you can easily and effectively pixelate faces in your videos. This powerful, yet easy-to-use app uses the latest technology to automatically track faces and find them, then blur detected faces in videos intelligently. Whether you're wanting to protect the privacy of individuals or simply want to add an artistic touch to your video, AVCLabs Video Blur AI is the perfect solution.
AVCLabs Video Blur AI can help anonymize faces in your videos with a pixelated blur effect. This app is compliant with the generative adversarial network for face anonymization, and will selectively and intelligently pixelate or censor faces, even multiple moving faces. This way, you can share your videos without worrying about who might see them. If you just pixelate any part of a video, AVCLabs Video Blur AI can make that possible.
AVCLabs Video Blur AI
- Automatically detect, recognize, and track faces in videos for anonymization with precision.
- Blur the detected faces selectively for single face or multiple faces in a video.
- Blur or pixelate parts of a video.
- AI-automated solutions for face, background, foreground, object and license plates blurring.

Steps to Pixelate Face in A Video Using AVCLabs Video Blur AI.
Install and Run AVCLabs Video Blur AI
Simply download and install the AVCLabs Video Blur AI from the above button on your computer, then double-click on the icon to start using it.
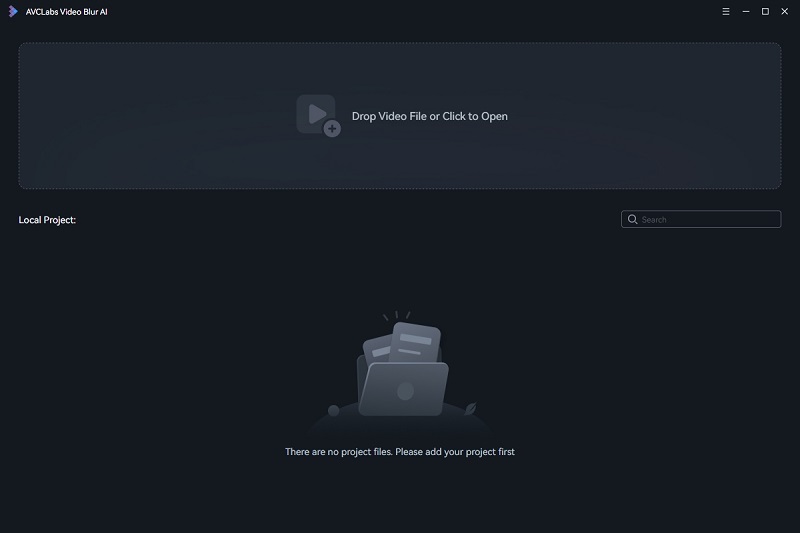
Add A Video to AVCLabs Video Blur AI
Directly drag & drop a video from your computer to the program. You can also click on the Browse button on the main interface of the program to import the video file you need from the computer.
Note: AVCLabs Video Blur AI supports the most common video formats like 3G2, 3GP, AVI, DIVX, FLV, F4V, M2TS, MTS, MOV, MP4, M4V, MPEG, MPG, DAT, MKV, OGM, RMVB, RM, TS, TP, VOB, WMV, WTV, ASF, DV, WEBM, etc.
Pixelate Face in A Video
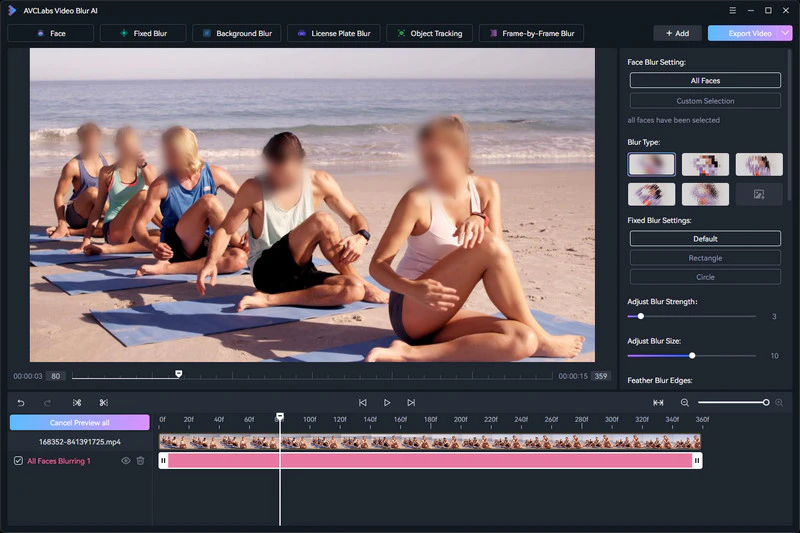
AVCLabs Video Blur AI allows users to selectively pixelate one or multiple moving/non-moving faces in a video.
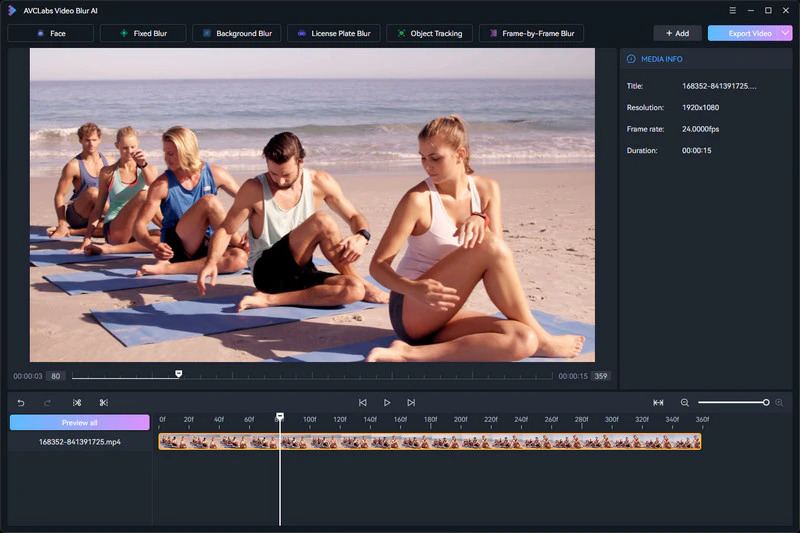
After importing a video into the program, go to the Face Blur tab. Here, you need to select the type of blur: Mosaic, Standard Blur, Longitudinal Blur, Blique Blur, and Particle Blur. After that, you can tick off the All Faces option or the Custom Selection option according to your need.
Start Pixelating One or Multiple Still or Moving Faces in A Video Automatically
Once all the settings are set up, simply click on the Export Video button to start blurring faces in a video automatically on your computer.
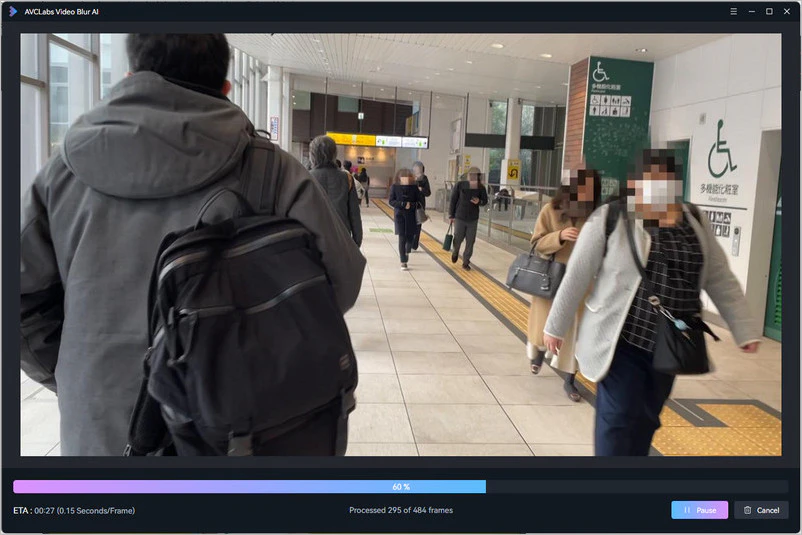
After the face pixelating process is completed, you can find and check the video with faces pixelated by clicking on the View Output Video button.
Conclusion:
Videos are an essential part of modern communication. While videos can help you share important information with others, they could also leave you vulnerable to attacks. That’s why it’s important to protect your privacy when you’re filming. You can do this by pixelating your face in videos before you share them with the public. When you use AVCLabs Video Blur AI, you can pixelate your face in a completely different way than most other tools. This unique feature helps you protect your privacy while also getting your message across.
Try AVCLabs Video Blur AI to protect privacy!

 AI Products

Hero Products

Video Converter
- MP4 Converters
- MKV to MP4 Converters
- AVI To MP4 Converters
- MOV to MP4 Converter
- Best Free AV1 Converters
- HEVC/H.265 Converter
- H.264 Video Converter
- Android Video Converter
- Convert 4K to 1080P
- Convert WebM to MP4
- Convert Videos to MP3
- Convert MP4 to 3GP
DVD Converter
Video Editor
- Best AI Video Editors
- Free AI Video Generators
- Best AI Slideshow Makers
- Replace Face in Video
- AI Cartoon Video Generators
- Text-to-Video AI Generators
- Text-to-Video AI Generators
- Sites to Download Subtitles
- Blur Video Backgrounds
Video Enhancer
- Best AI Video Upscaling Tools
- Make a Blurry Video Clear
- Best Old Video Restorer
- Increase Video Resolution
- Convert Videos to 4K
Mobile & PC